Creating Handlers
Hire a new Handler for your team — choose a template, shape identity, tone, and handbooks, then put them to work.
Handlers are AI agents on Handle — built by your team, for your team. Each Handler can be given a distinct role, persona, skills, and permissions, so you can create capable, secure, and user-friendly agents that your people can interact with directly in Slack.
Ready to build one? Here’s how.
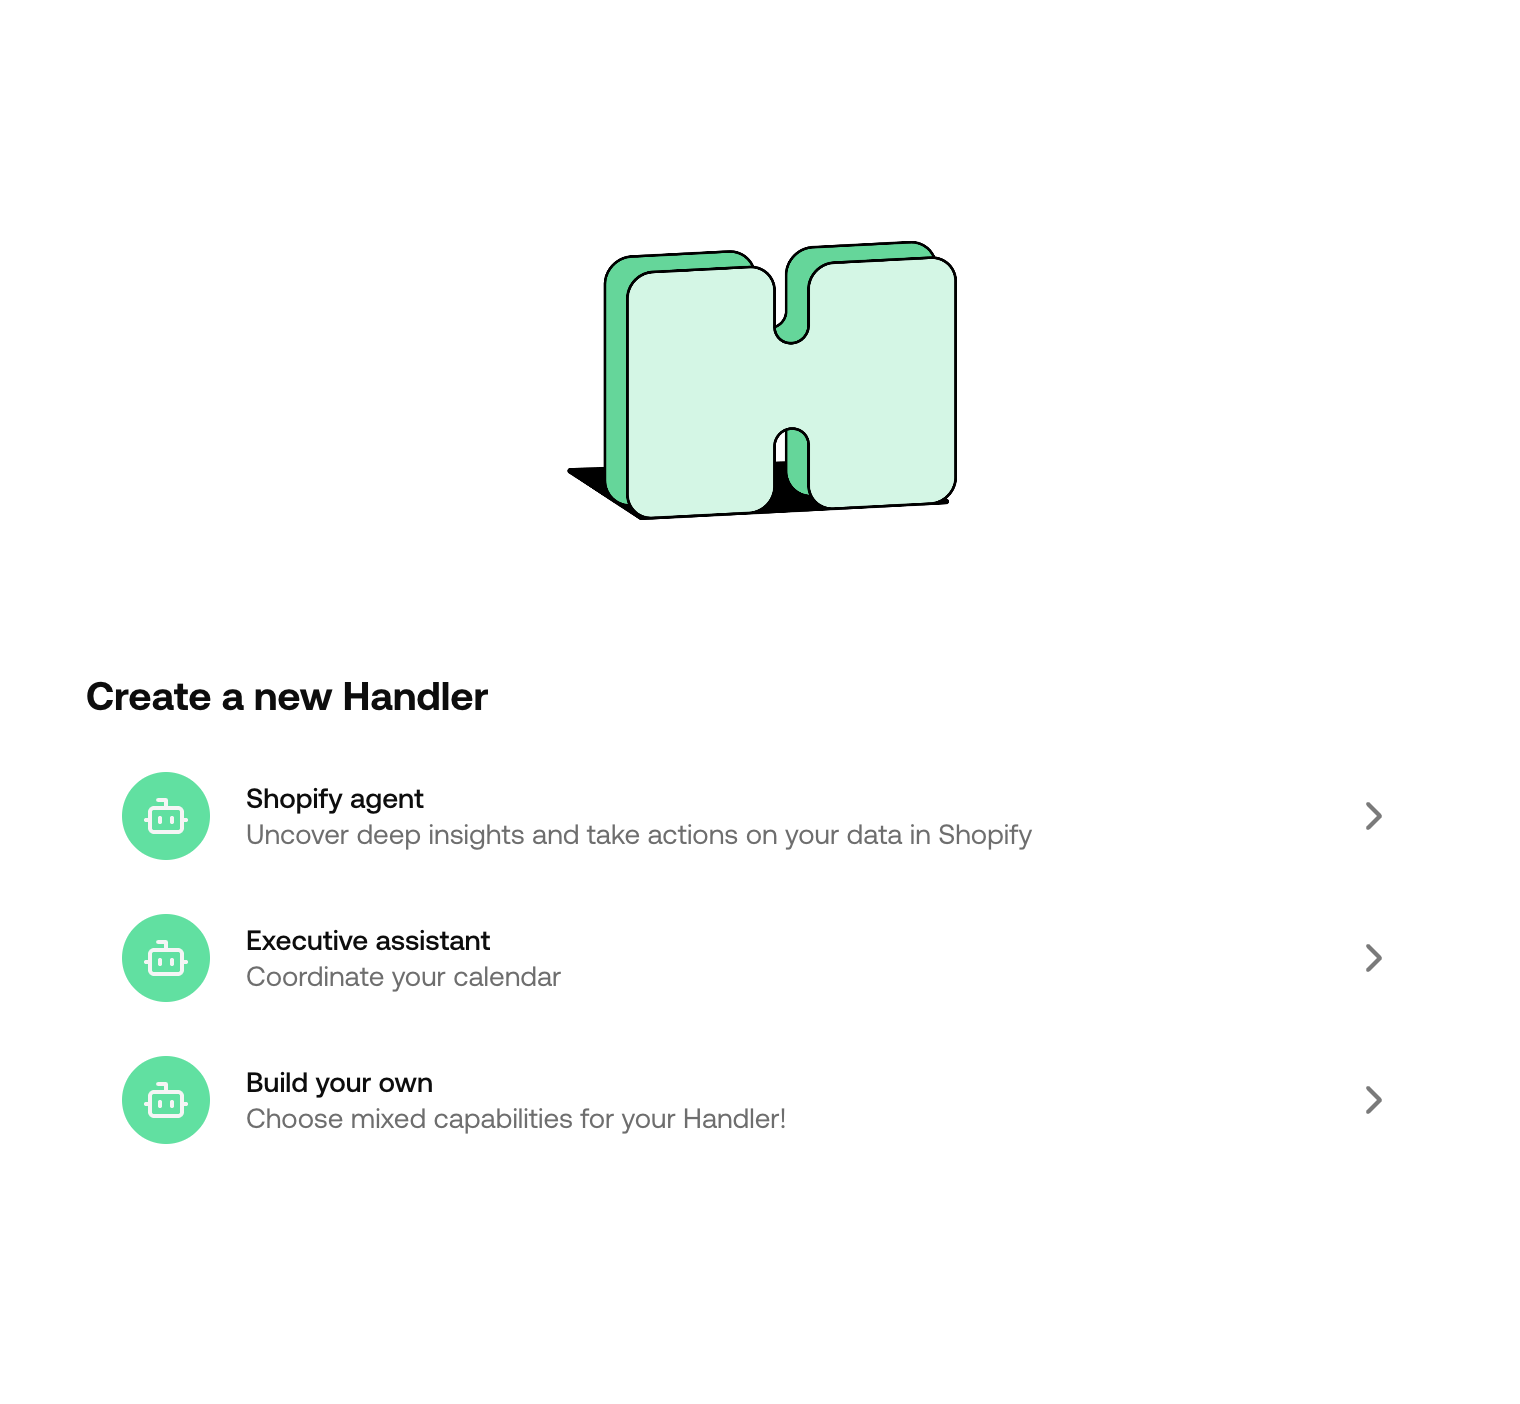
Step 1: Choose a Template
When you click Create Handler, you’ll first be asked to pick a template. Templates give you a head start with pre-configured settings tailored to common use cases. Pick the one that’s closest to what you need — you can always customise from there.
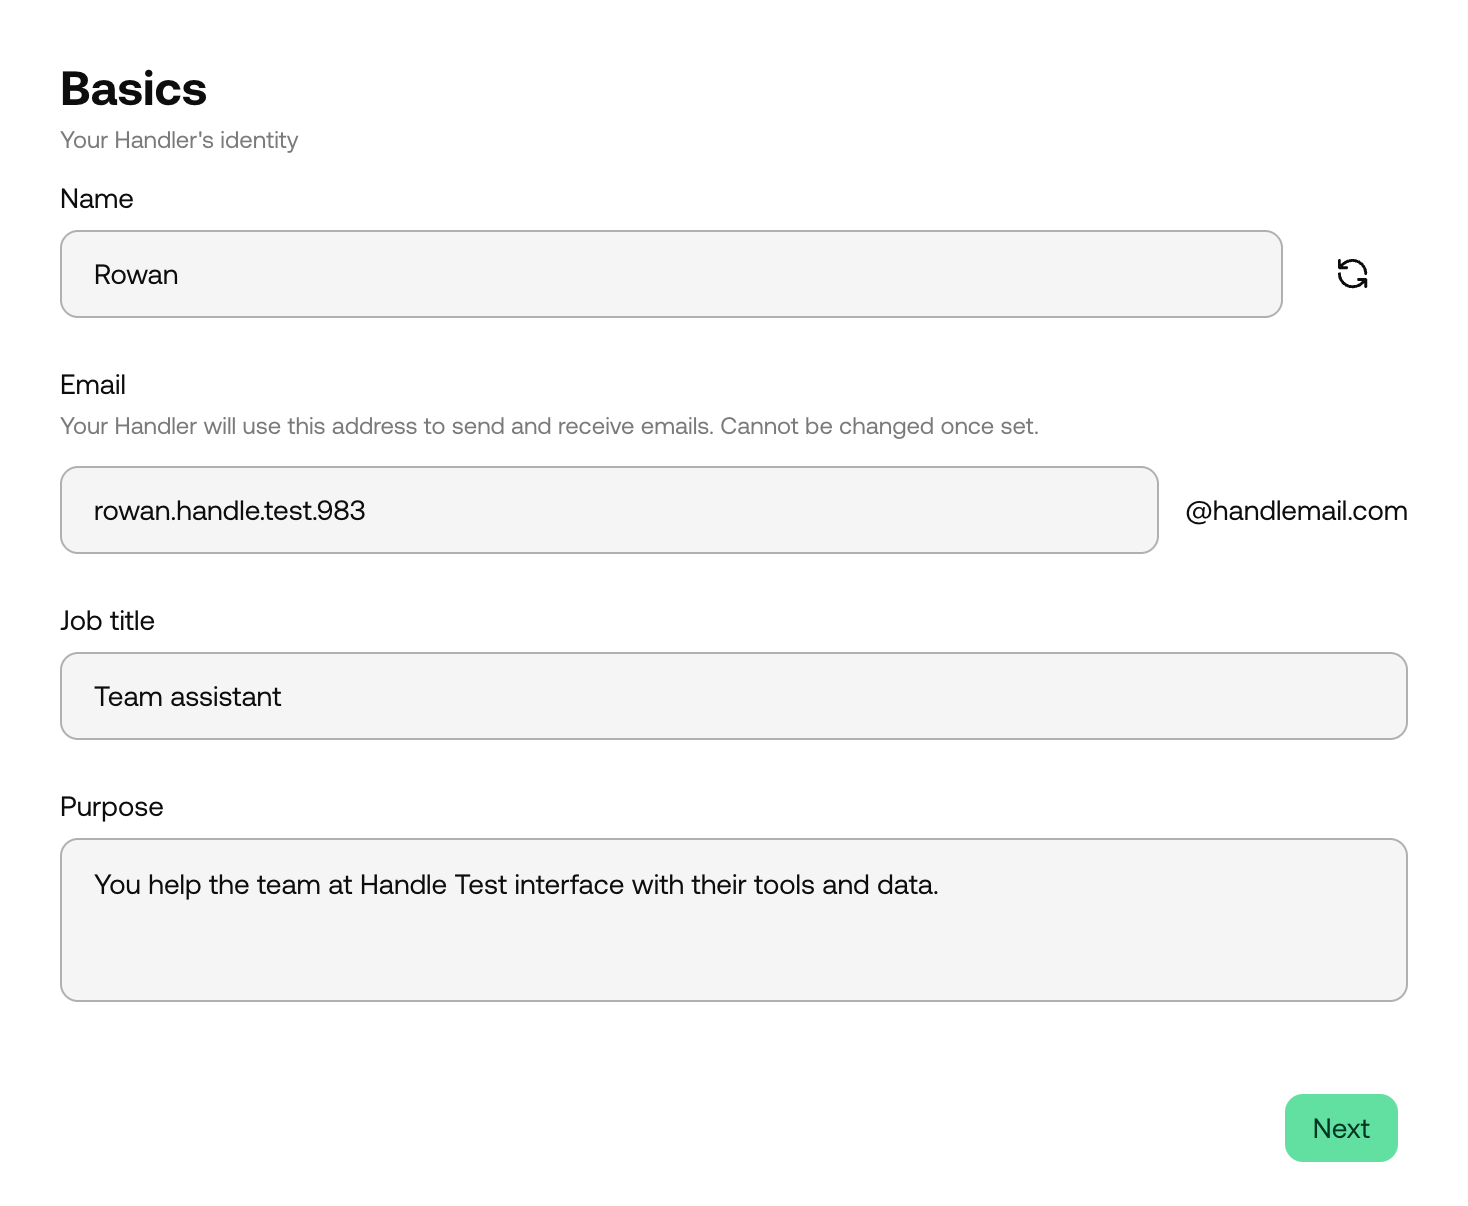
Step 2: The Basics
This is where your Handler gets its identity. You’ll fill in:
- Name — What your Handler is called (choose wisely, first impressions matter)
- Email — A dedicated email address for the Handler
- Job title — The Handler’s role (e.g. “Project Manager”, “Support Agent”)
- Purpose — A description of what this Handler is for and what it should do. This is the core prompt that shapes your Handler’s behaviour, so be as clear and specific as you can.
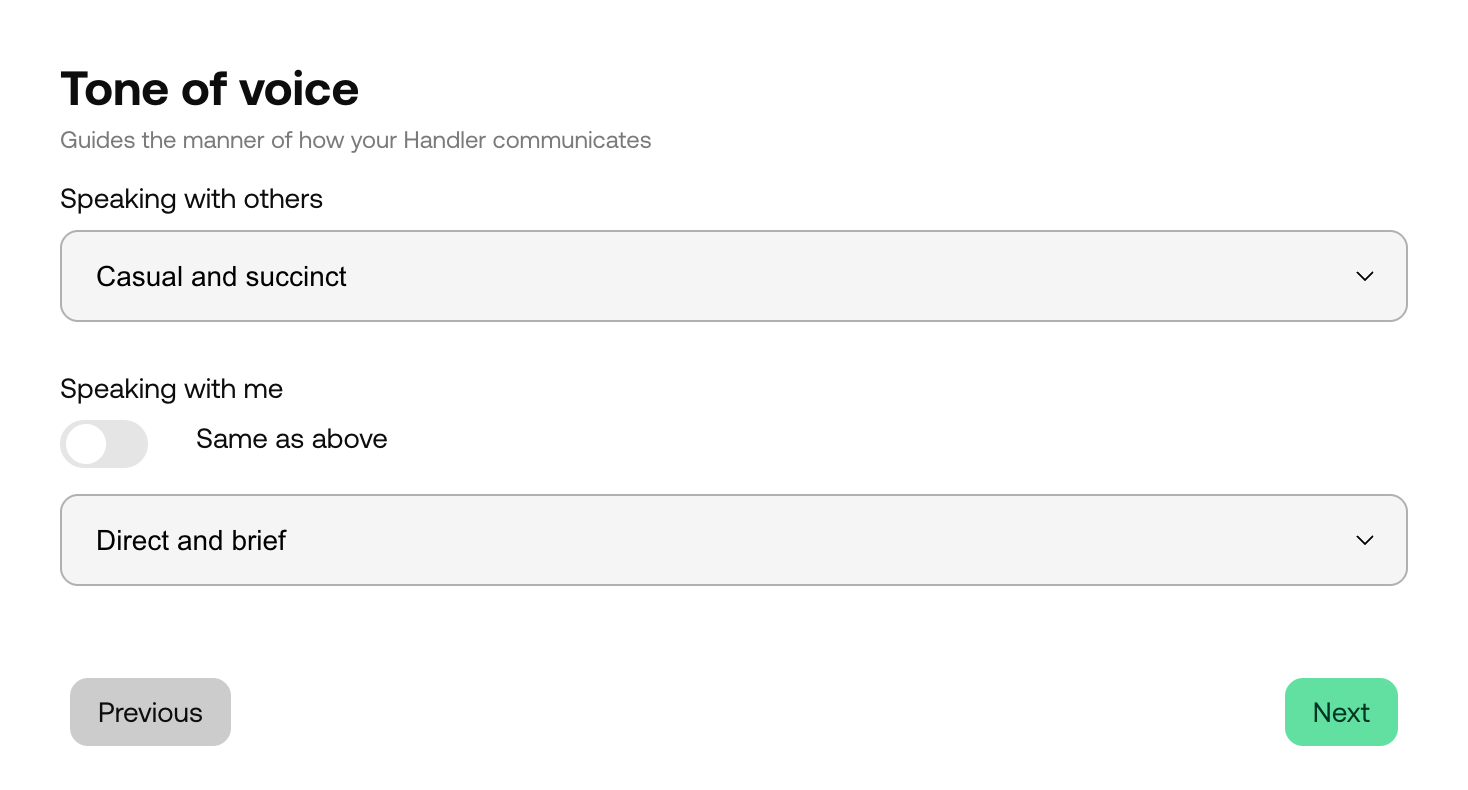
Step 3: Tone of Voice
This is where you shape how your Handler communicates — because what you say matters, but so does how you say it.
You’ll configure two settings:
- Speaking with others — How the Handler talks to users and colleagues
- Speaking with me — How the Handler talks to you, its creator (toggle “Same as above” if you’d like it to be consistent, or set a different tone for your private conversations)
Handle comes with a set of preset tones to get you started:
- Casual and succinct — Business-professional, but with a friendly, approachable feel
- Direct and brief — Straight to the point, no fluff, all substance
- Formal and succinct — Polished and professional
- Joyful and full of sunshine — Enthusiastic, warm, and generous with emojis
- Pirate — Arrr, ye be gettin’ pirate puns at every turn
- Snarky intelligence — Dry wit with a side of intellectual superiority
Not quite what you’re after? Select Custom to write your own tone-of-voice instructions from scratch.
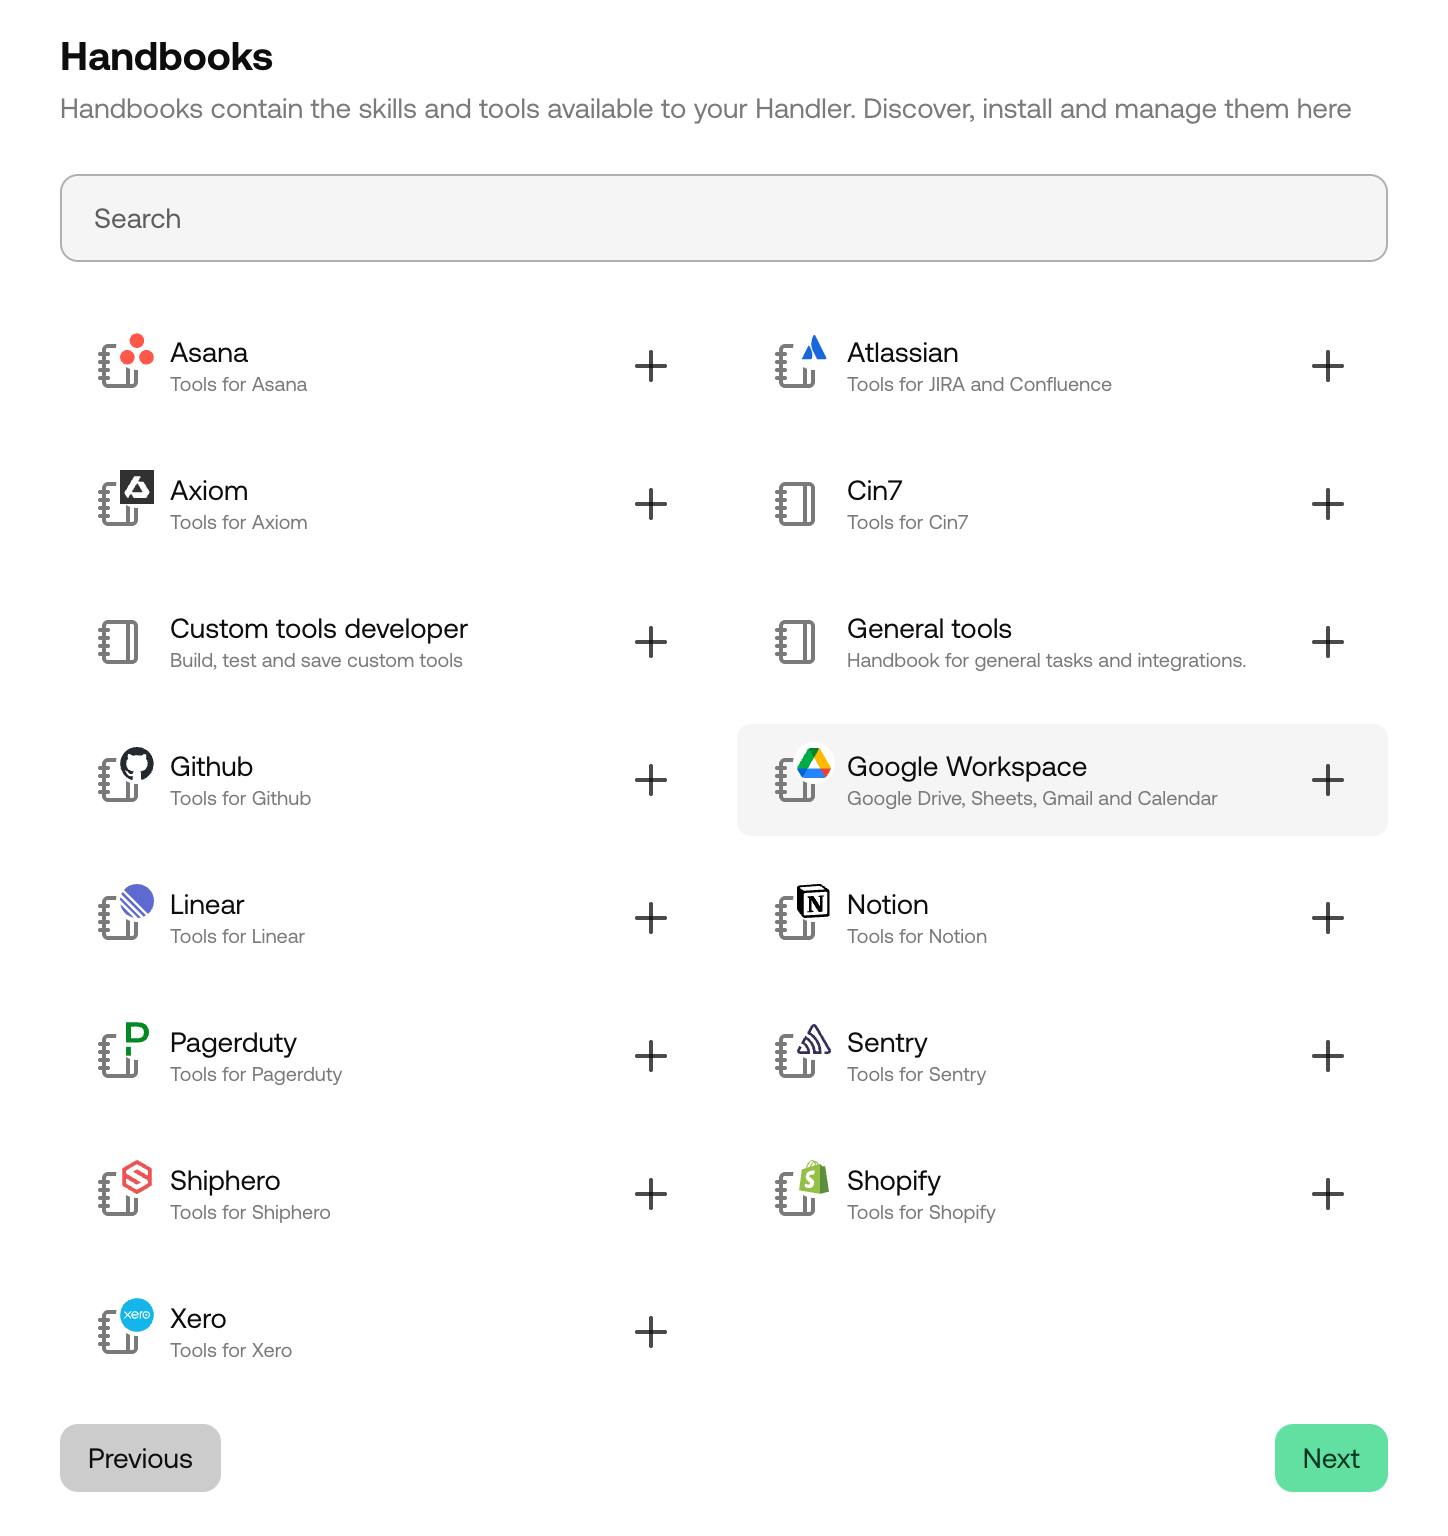
Step 4: Handbooks
Depending on your chosen template, you may be prompted to select Handbooks for your Handler.
Handbooks are collections of skills, tools, and instructions that give your Handler its capabilities — from specific integrations (like Slack, Shopify, or Zendesk) to general-purpose abilities. Think of them as the playbooks your Handler follows to get work done.
On this screen, you can:
- Search for handbooks by name or description
- Add handbooks to your Handler’s toolkit
- Remove any you’ve selected but changed your mind about
Some templates skip this step and come with handbooks pre-configured.
Step 5: Review and Create
The final step — take a moment to review everything you’ve set up:
- Basics — Name, email, job title, and purpose
- Tone of voice — How your Handler will communicate
- Handbooks — The skills and tools your Handler will have access to
Once you’re happy, hit Create Handler and your new agent is ready to go. You’ll be taken straight to your Handler’s dashboard where you can start putting it to work.