Handler Permissions
Control what your Handlers can do with granular per-tool permissions for yourself and others.
Permissions give you full control over what your Handler can and can’t do — right down to the individual tool level. This is especially important for Handlers that are shared across your team, ensuring that data access and actions are safe, predictable, and appropriate for each audience.
Getting There
From the Handler Dashboard, click the Permissions button at the top of the page.
How Permissions Work
Permissions are configured per tool, grouped by the Handbook or integration they belong to. For each tool, you set what happens when the Handler tries to use it.
There are three permission levels:
- Allow — The Handler can use this tool freely, no questions asked
- Ask — The Handler must request permission from the user before using this tool (an approval prompt is sent)
- Deny — The Handler cannot use this tool at all
When multiple policies apply to the same tool, the strictest one wins. So if one rule says “Allow” and another says “Deny”, the tool is denied.
Me vs. Others
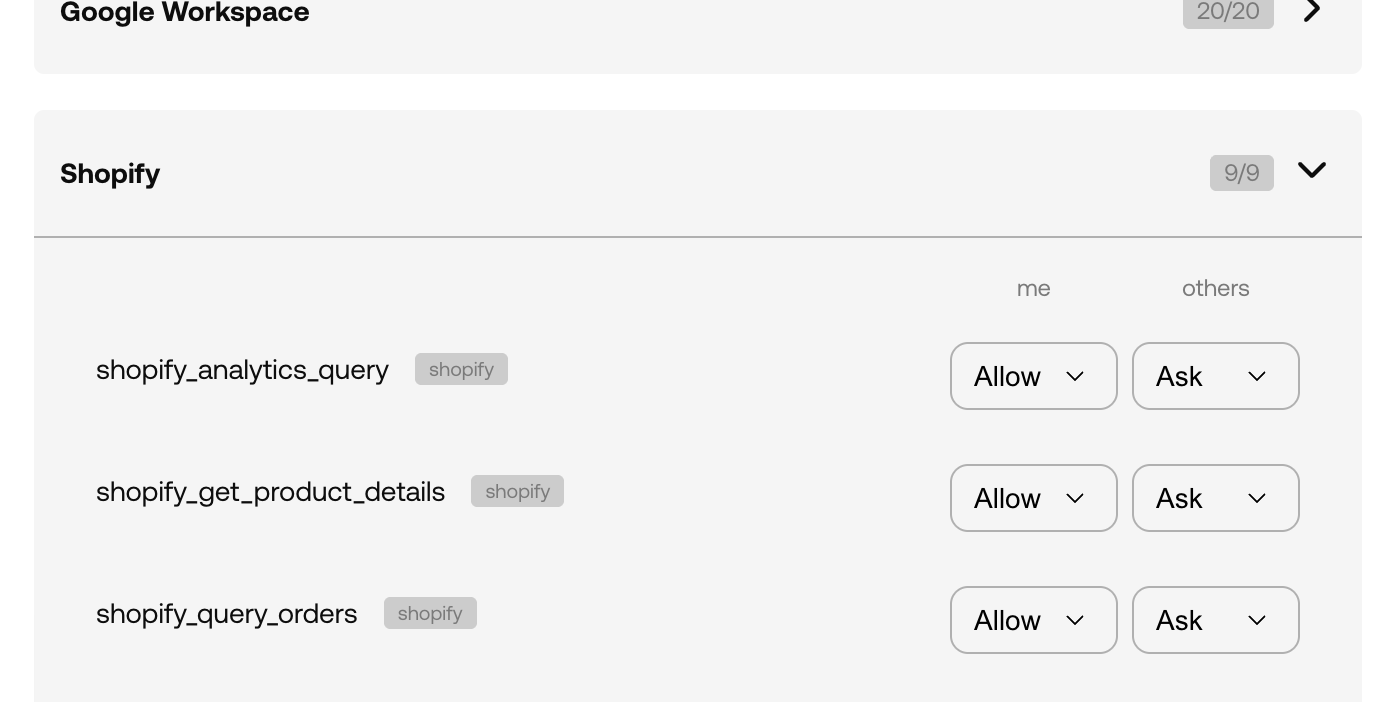
This is where things get particularly useful. Every tool has two permission columns:
- Me — What happens when you (the Handler’s creator/manager) are instructing the Handler
- Others — What happens when someone else is interacting with the Handler
This dual-context system means you can give yourself broader access while keeping things locked down for other team members. For example, you might allow yourself to use a sensitive data tool directly, but require that others go through an approval step first.
By default, your own permissions are more permissive than those for others — a sensible starting point that you can customise as needed.
The Permissions Page
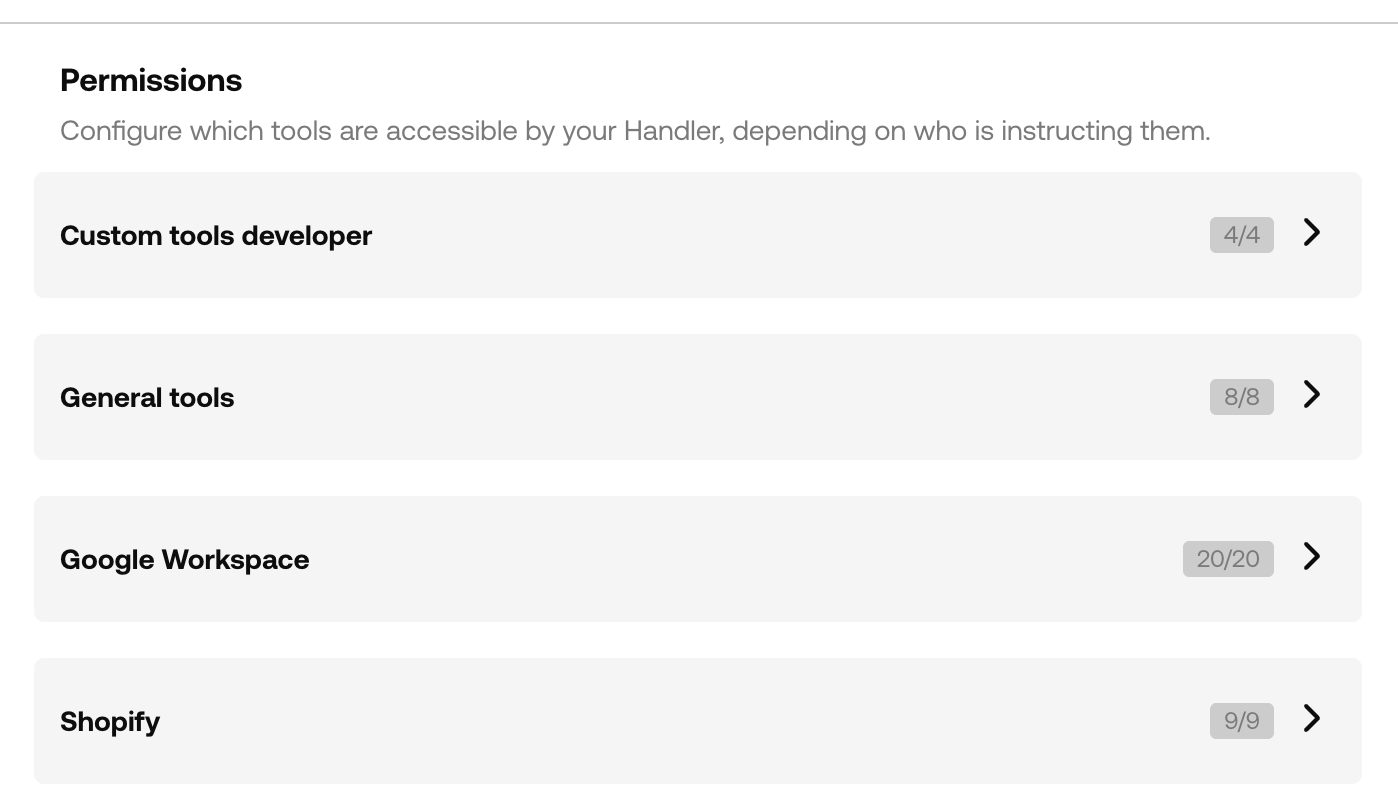
The page is organised by Handbook or integration, with collapsible sections for each group. Each group shows a count of active tools (e.g. “3/5”) so you can see at a glance how many tools are enabled.
Expand a group to see the individual tools listed with:
- Tool name and scope
- A brief description of what the tool does
- Two dropdowns — one for “Me” and one for “Others” — to set the permission level
Changes take effect immediately when you select a new permission level.
Integration Data Access
At the bottom of the permissions page, you’ll find a section for “Read data using ad-hoc scripts”. This controls whether the Handler can access data from your connected integrations programmatically.
Each connected integration with data access capabilities is listed separately, with the same Me/Others configuration. This gives you granular control over which integrations the Handler can query data from, and under what circumstances.
When to Use Permissions
A few scenarios where fine-tuning permissions really shines:
- Shared Handlers — Lock down sensitive tools for non-managers while keeping full access for yourself
- Customer-facing Handlers — Deny access to internal tools entirely, and require approval for anything that modifies data
- New Handlers — Start with “Ask” on powerful tools until you’re confident the Handler uses them appropriately, then switch to “Allow”
- Compliance — Ensure certain actions always go through human review, regardless of who’s asking